How do I install and connect VilaNet on Android TV?
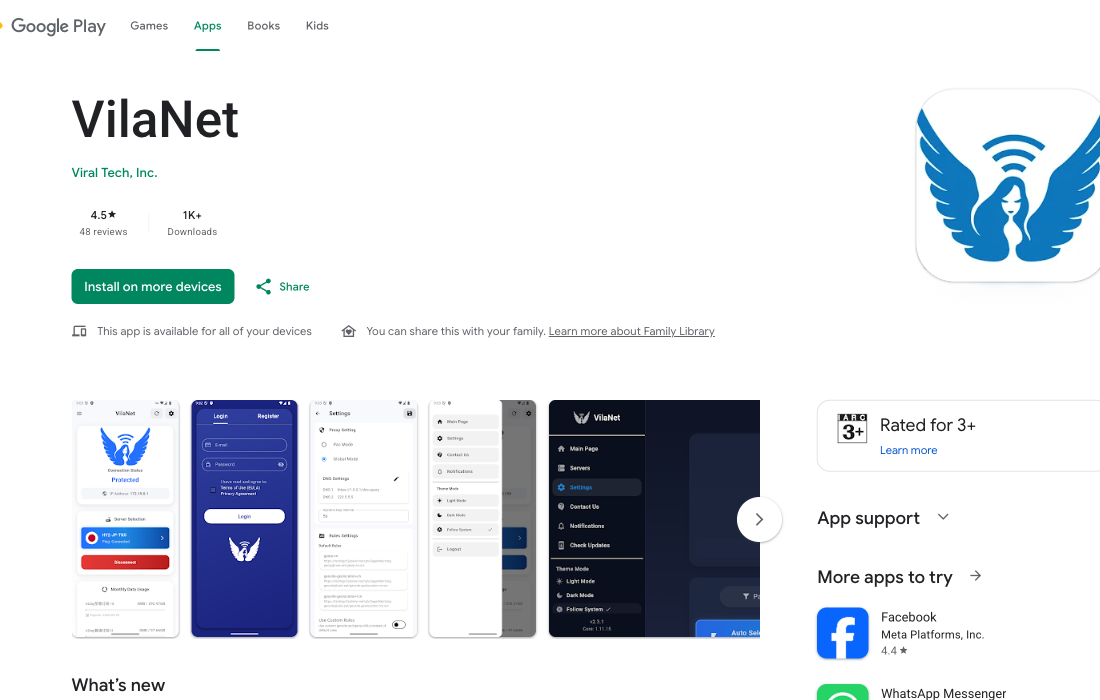
Install VilaNet from Google Play on your TV, sign in with your VilaVPN account, choose a server and approve Android's VPN request when you connect for the first time.
Android TV uses the same adaptive VilaNet interface as the other supported platforms, arranged for a television and D-pad navigation. These instructions apply to VilaNet 2.12.82 on Android 7 or later. Store visibility, focus order and a real VPN connection still require verification on physical TV hardware before this page is published.
Before you begin
You need:
- an Android TV or Google TV device running Android 7 or later;
- an internet connection;
- an active VilaVPN subscription; and
- the email address and password for your VilaVPN account.
Use the remote's directional pad to move the visible focus indicator. Press the center or select button to activate the focused control.
1. Download VilaNet from Google Play
- From the TV Home screen, open Google Play Store or Apps.
- Search for
VilaNet. - Open the official VilaNet listing and confirm that its name and branding match VilaVPN.
- Select Install.
- When installation finishes, select Open.
Google Play is the canonical installation source and provides normal security and update handling.
APK fallback
Use the official VilaVPN APK only when Google Play is unavailable on the device or does not offer the TV-compatible build.
- On a trusted device, open the official VilaVPN downloads page: vilavpn.com/index.php?rp=/download.
- Download the current official VilaNet Android APK.
- Transfer it to the TV using a trusted local method.
- Open the APK on the TV. If Android asks, temporarily allow that file manager to install unknown apps.
- Complete installation, then turn off that Install unknown apps permission again.
Do not install an APK forwarded through chat, email or an unofficial download site. If an existing VilaNet installation has a different signing key, Android may require you to remove it before installing the official package; removing an app also removes its local settings.
2. Sign in
- Open VilaNet.
- Move focus to E-mail, select it and enter your VilaVPN account email.
- Select Password and enter your account password.
- Review the linked EULA and Privacy Policy.
- Select the agreement checkbox if it is not already selected.
- Review the minimal-data consent message, then select Allow if you agree and want to continue.
- Select Login.
Sign-in success check
VilaNet opens the main screen and shows the connection controls. If it reports that the package is expired or inactive, renew the subscription before trying to connect.
3. Choose a server and connect
- Move focus to the server or location selector and open it.
- Move through the available servers with the D-pad.
- Select the server you want to use.
- Return to the main screen if VilaNet does not return automatically.
- Move focus to the connection control and select it.
- On the first connection, Android displays a system request allowing VilaNet to set up a VPN connection. Review it and select OK or Allow.
- If Android asks whether VilaNet may send notifications, choose your preference. Notifications are optional and are not the VPN permission.
- Wait for VilaNet to show the connected state.
Confirm that it worked
A successful first connection has all of these signs:
- VilaNet shows the connected state;
- the selected server or location is visible; and
- the TV continues to load content over the network.
Do not use a simulator or a UI-only state as proof of a working tunnel. The final connected screenshot and success check must come from a physical device.
Disconnect or change server
- To disconnect, focus the connection control on the main screen and select it.
- To change server, disconnect if necessary, open the server selector, choose a different server and connect again.
- If focus is difficult to see, pause before pressing the D-pad again and look for the highlighted border or selected control.
If you cannot install, sign in or connect
- The app is missing from Google Play: confirm that the TV runs Android 7 or later and try the official APK fallback above.
- The remote cannot reach a control: press Back once, reopen the screen and move focus one step at a time.
- The on-screen keyboard covers the form: finish the current field with the keyboard's confirmation action, then continue with the D-pad.
- Login fails: re-enter the full email address and password, confirm the subscription is active and preserve the exact error message.
- The VPN request was denied: select connect again and approve Android's system VPN request. Notification permission alone does not grant VPN access.
- It connects but content does not load: disconnect, choose a different server and connect again. Then continue to Connected but no internet.
- It still cannot connect: continue to Cannot connect.
When contacting support, include the TV/device model, Android version, VilaNet version, installation source and the exact error text. Never send your password.
Was this page helpful?