VilaNet CLI
VilaNet CLI is the official command-line client for Linux, macOS and Windows. Use it on a headless computer, a server, or when you prefer terminal commands to a graphical app.
If you want a normal desktop interface, use VilaNet for macOS, Windows or Linux instead.
Want the full technical reference? Open the rich VilaNet CLI guide for platform-specific installation, the command reference, configuration, troubleshooting and interactive examples. This page remains the multilingual safe-start guide.
Before you start
You need:
- an active VilaVPN account;
- administrator access for a full-device TUN connection;
- the package that matches your operating system and processor.
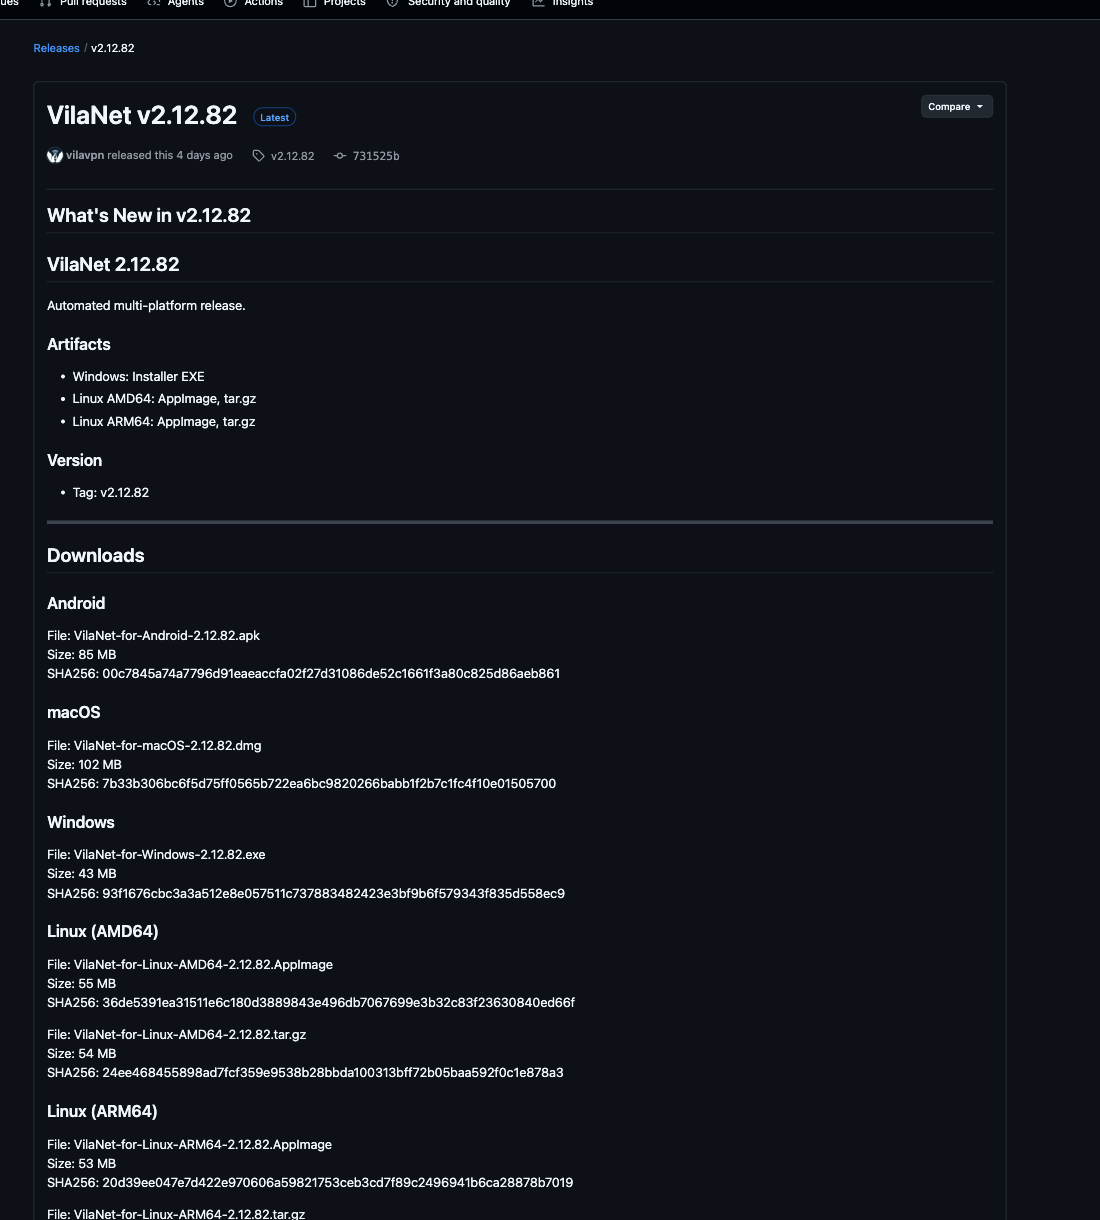
The current verified release is 1.2.9. Download it from the official VilaNet CLI release.
{% hint style="warning" %}
Never paste your password into a command, screenshot or support message. The login command prompts for it without putting it in your shell history.
{% endhint %}
1. Choose the correct package
| System | Processor | Package ending |
|---|---|---|
| Linux | Intel/AMD 64-bit | linux_amd64.tar.gz |
| Linux | ARM 64-bit | linux_arm64.tar.gz |
| Linux | ARMv7 | linux_armv7.tar.gz |
| macOS | Apple silicon | darwin_arm64.tar.gz |
| macOS | Intel | darwin_amd64.tar.gz |
| Windows | Intel/AMD 64-bit | windows_amd64.zip |
| Windows | ARM 64-bit | windows_arm64.zip |
On Linux or macOS, run uname -m if you are unsure. x86_64 means AMD64; arm64 or aarch64 means ARM64.
2. Install
Linux
Extract the downloaded archive, then install the binary:
tar -xzf vilanet-cli_1.2.9_linux_amd64.tar.gz
sudo install -m 0755 vilanet-cli /usr/local/bin/
sudo setcap 'cap_net_admin,cap_net_bind_service+eip' /usr/local/bin/vilanet-cli
Replace amd64 with arm64 or armv7 when that is the package you downloaded.
macOS
Extract the archive and install the binary:
tar -xzf vilanet-cli_1.2.9_darwin_arm64.tar.gz
sudo install -m 0755 vilanet-cli /usr/local/bin/
Replace arm64 with amd64 on an Intel Mac. Full-device TUN mode needs sudo; a local SOCKS-only connection does not.
Windows
- Extract the ZIP file.
- Download Wintun only from the official Wintun website.
- Copy the matching
wintun.dllbesidevilanet-cli.exe. - Open PowerShell as Administrator.
- Change to the extracted folder.
Keep the first setup simple by running VilaNet in the foreground. Windows Service installation is an advanced option and is not required for a first connection.
3. Confirm the installation
On Linux or macOS:
vilanet-cli version
On Windows PowerShell:
.\vilanet-cli.exe version
The command should print a version instead of an error.
4. Sign in
Run:
vilanet-cli login --email you@example.com
Enter your VilaVPN password when prompted. A successful login stores encrypted credentials on this device. Do not use --insecure-store for normal use.
The password prompt is intentionally not reproduced with a real password in any screenshot.
5. Review available packages and servers
vilanet-cli list packages
vilanet-cli list servers
You may narrow the server list by country, for example:
vilanet-cli list servers --country HK
Server availability depends on your active package. Do not copy internal server identifiers into public screenshots.
6. Connect
For a full-device connection, run the command from a terminal with the required privileges:
vilanet-cli connect --country HK
On macOS, add sudo if TUN privileges are required. On Windows, run it from the elevated PowerShell window. Keep the foreground command running; press Ctrl+C to stop it.
For a local SOCKS/HTTP proxy without TUN on Linux or macOS:
vilanet-cli connect --no-tun --mixed 127.0.0.1:1080
7. Confirm VilaVPN is working
On Linux, macOS and Windows, keep the foreground terminal open and confirm the
connection process remains running. Then open an IP-check website and confirm
that the public IP differs from your normal ISP IP. The foreground process does
not expose the CLI control channel, so status --json is not the verification
command for this first-run path.
Linux and macOS users who deliberately started a supported background daemon
may inspect that daemon from another terminal with vilanet-cli status --json.
Windows version 1.2.9 has no equivalent background IPC control plane.
Disconnect and sign out
On Linux or macOS, stop a managed/background connection with:
vilanet-cli disconnect
On Windows, return to the foreground PowerShell window and press Ctrl+C.
Windows disconnect, status and switch cannot control that foreground
process in version 1.2.9.
To remove stored credentials after the connection has stopped:
vilanet-cli logout
logout removes stored credentials and cached account data. You do not need to log out merely to disconnect.
If something goes wrong
| Symptom | What to do |
|---|---|
command not found |
Confirm the binary is installed in a directory on your PATH, or run it from the extracted folder. |
Exit code 2 |
Check the email and password, then run login again. |
Exit code 4 |
Sign in first, or wait before retrying if the service rate-limited repeated requests. |
Exit code 5 |
Run with the required administrator privileges; on Linux, repeat the setcap step. |
| Windows reports a Wintun error | Confirm the correct official wintun.dll is beside vilanet-cli.exe. |
| Connected but traffic does not work | Run vilanet-cli logs --follow, preserve the error, disconnect safely and contact support with a redacted excerpt. |
Do not post the whole configuration directory. It can contain encrypted credentials, identifiers and connection metadata.
Guide verification status
The commands, packages and supported architectures above were checked against VilaNet CLI 1.2.9. The guide now includes a real official-release capture; a clean-machine round trip on every operating system remains pending.
Was this page helpful?